As part of our exploration of Baby Play
We have been creating Discovery Bottles
Or Sensory Bottles for Edie Mae
Discovery Bottles are a great way for a baby
Or a toddler
To safely explore materials that might be a choking hazard
Or otherwise unsafe for little ones
It is a way to indulge in sensory play
Without it being messy play
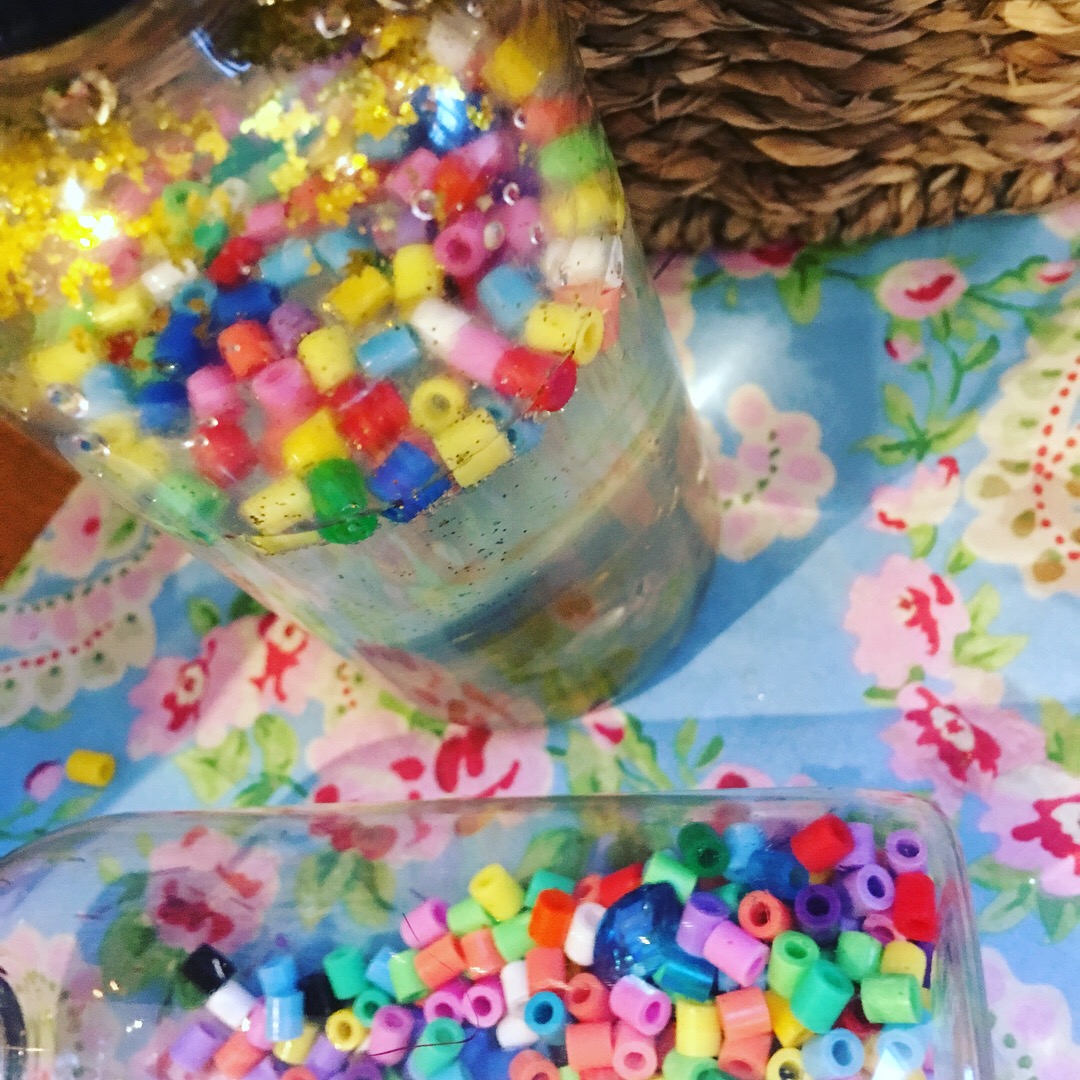
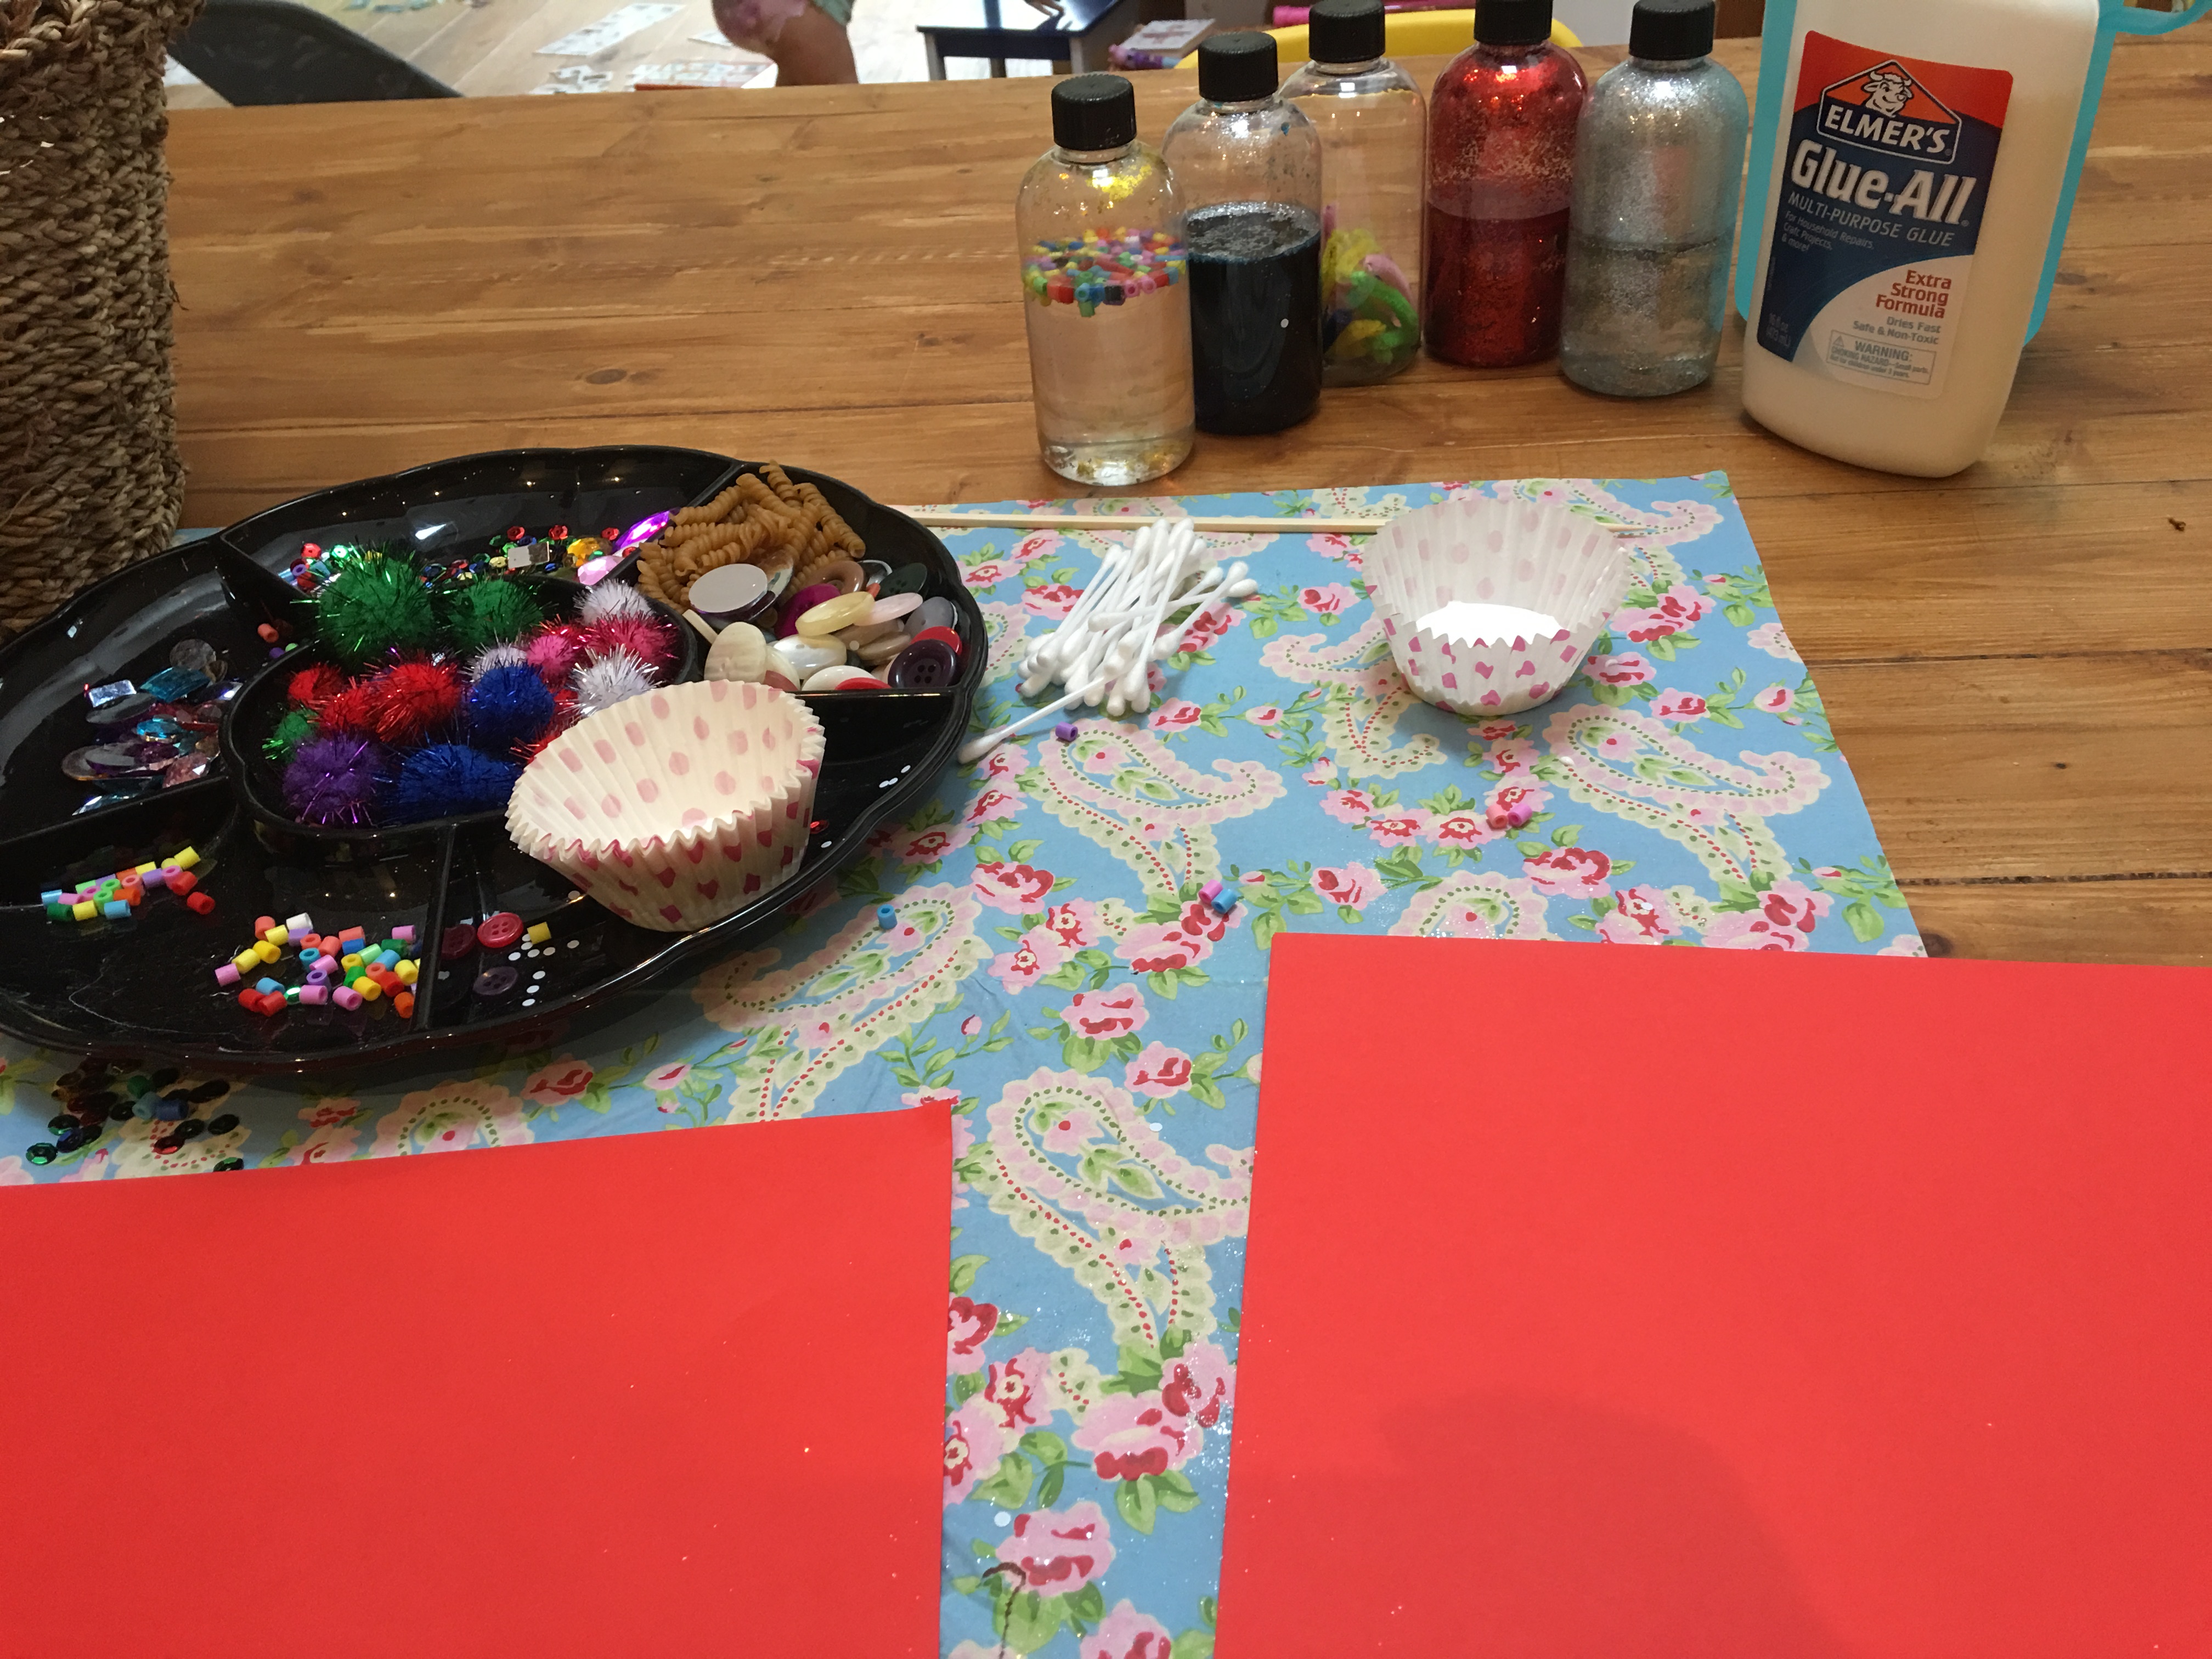
There are so many things you can put into Discovery Bottles
Many of which you will already have in your home
Buttons
Beads
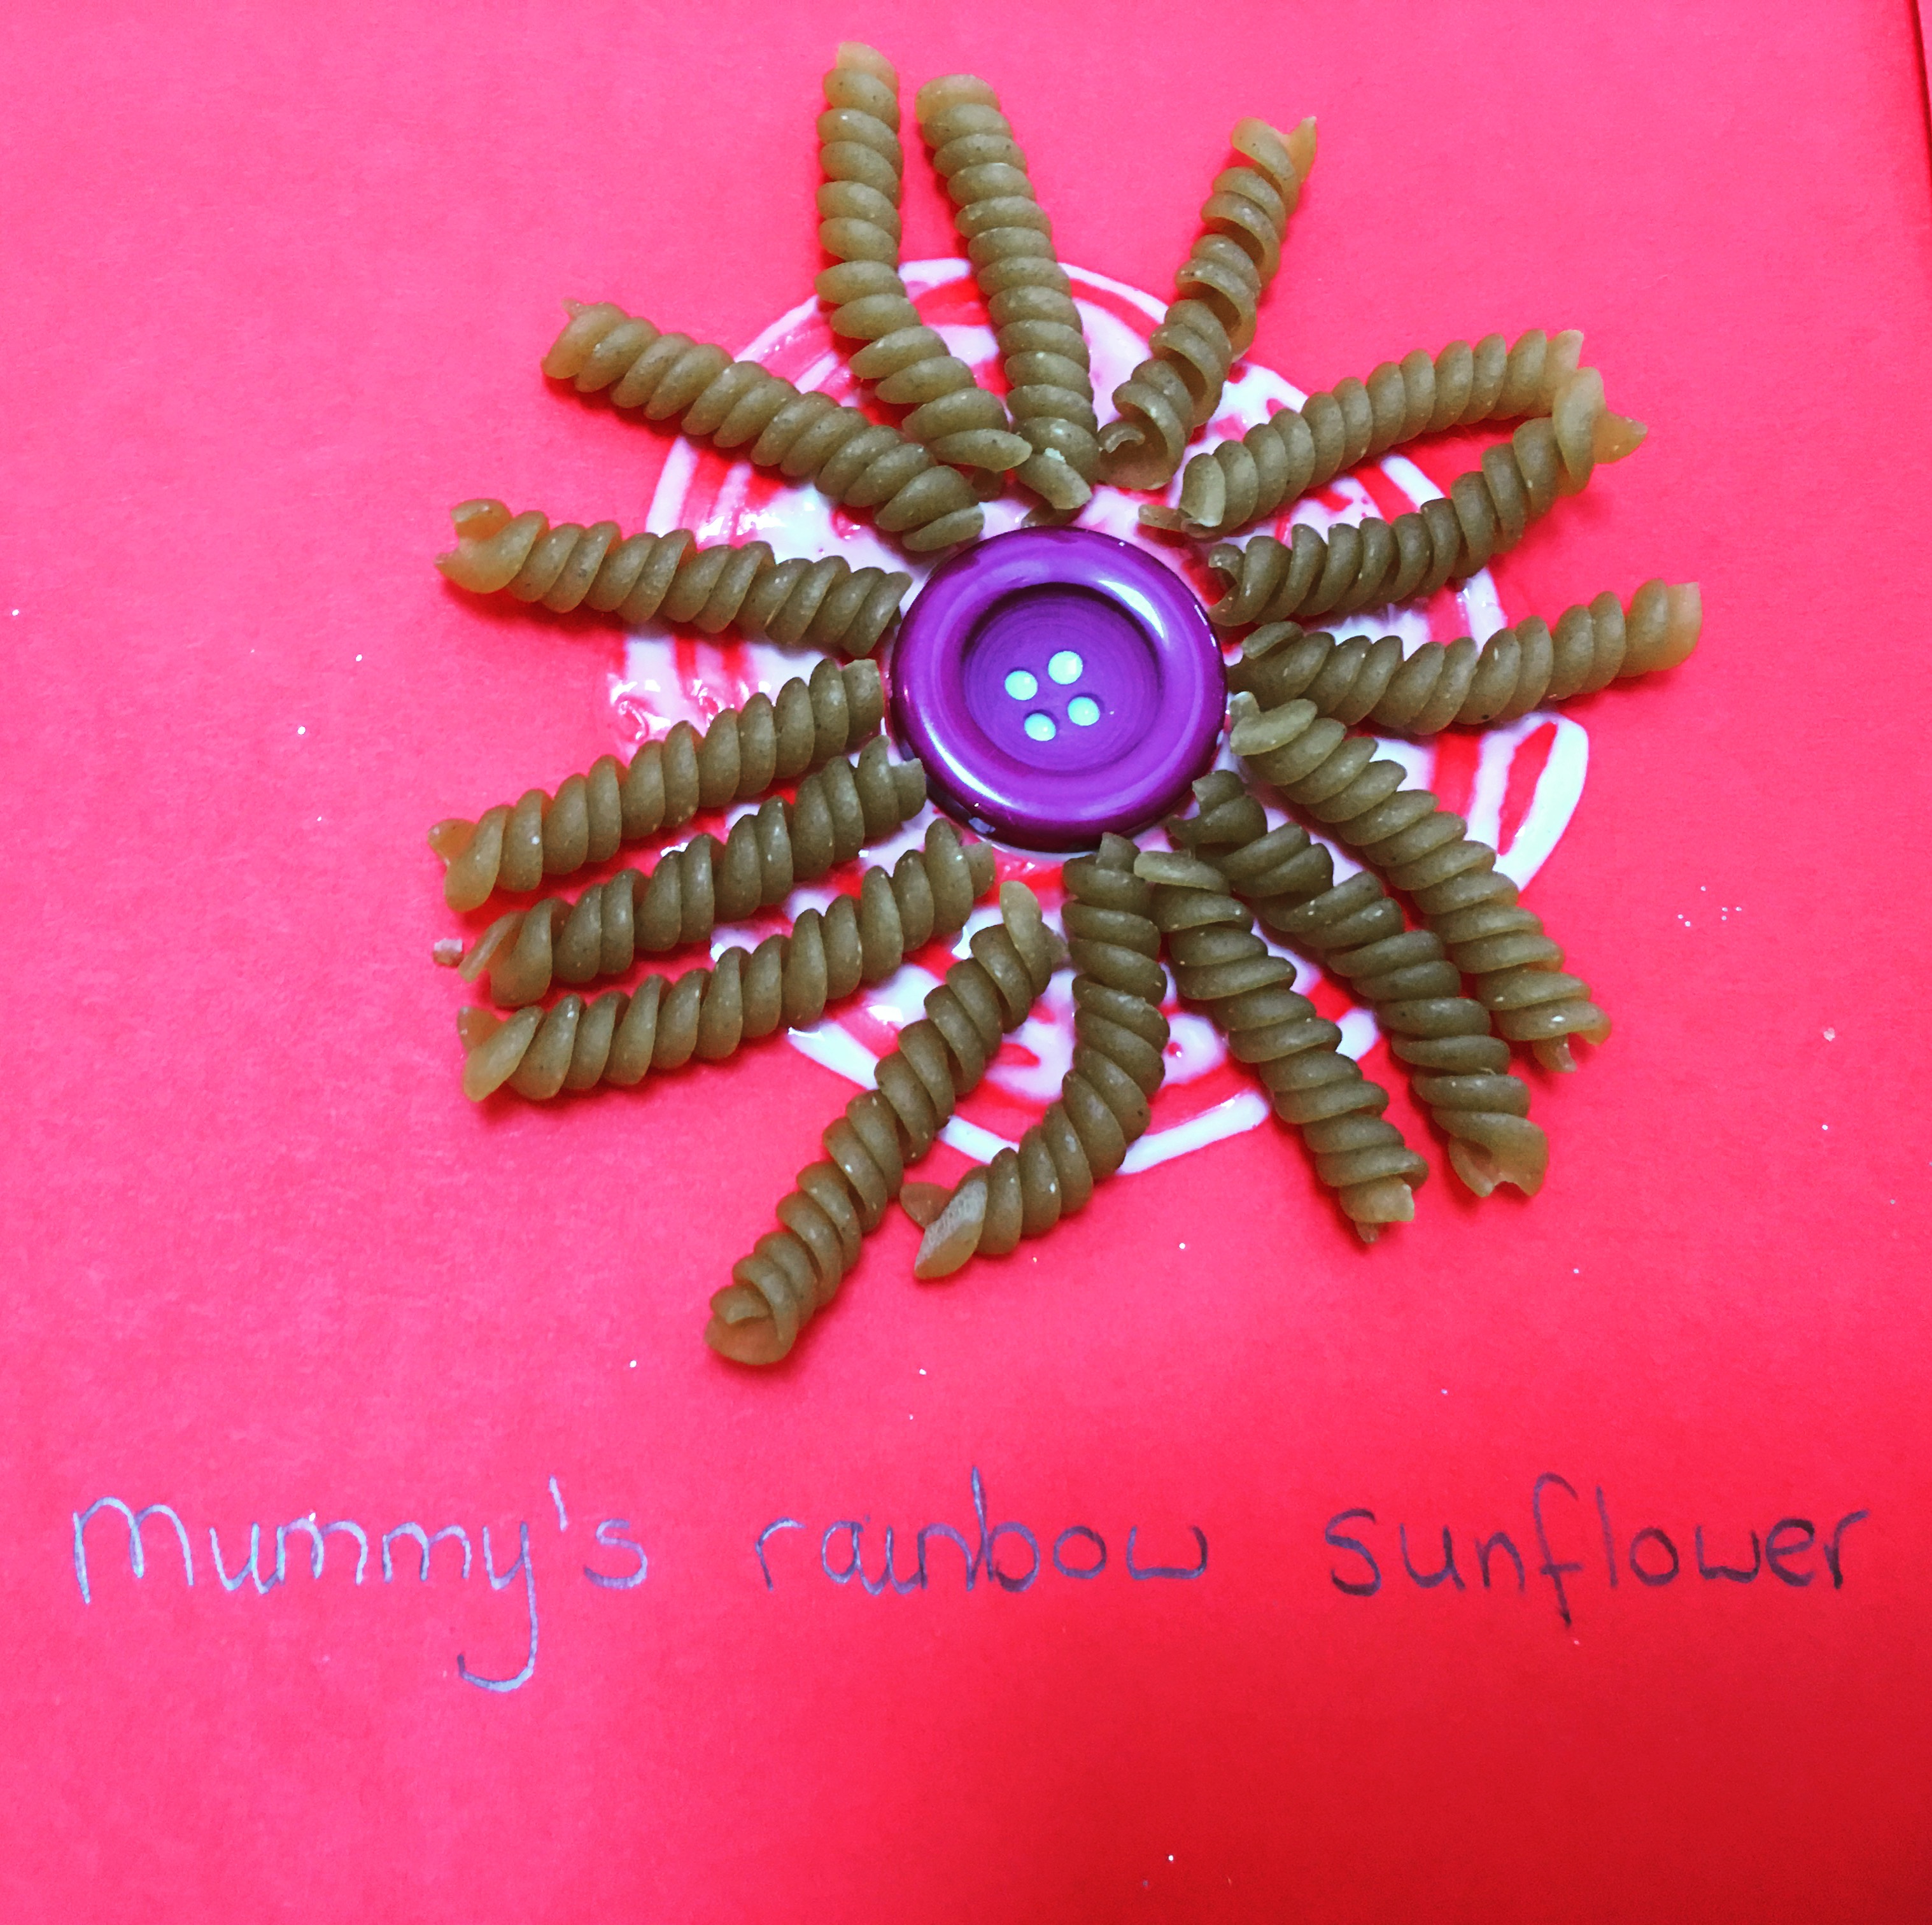
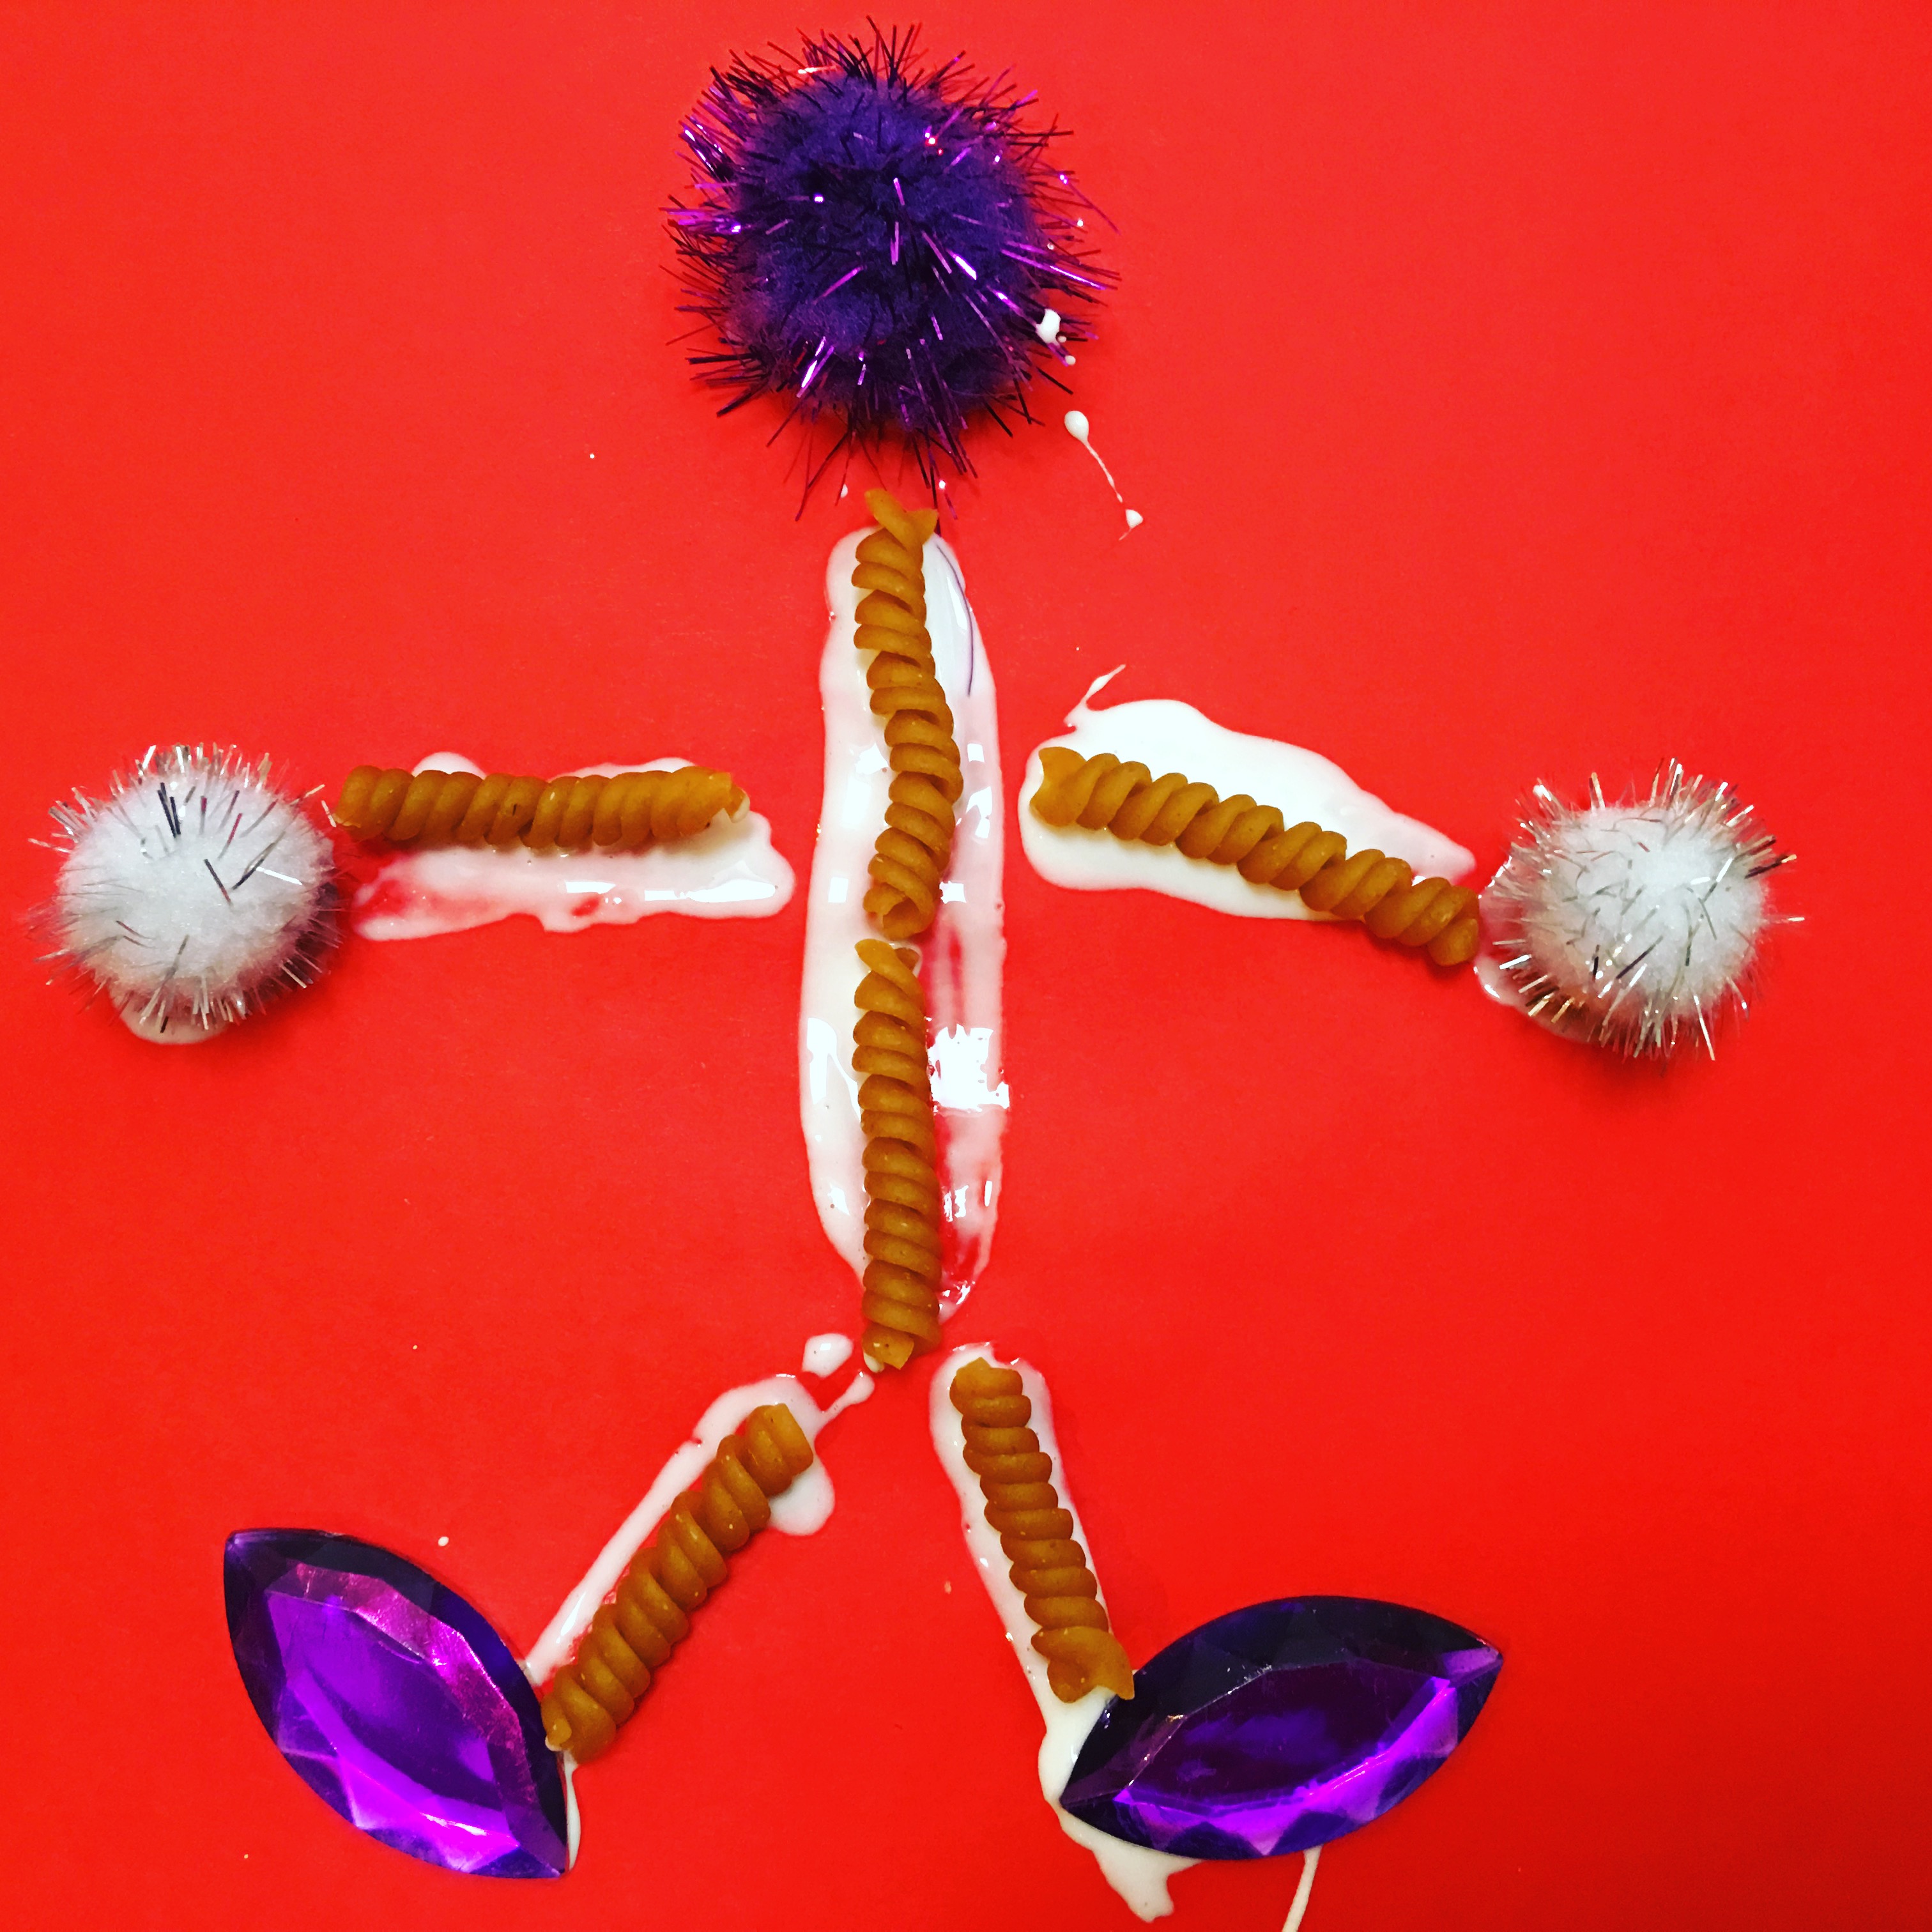
Pasta
Beans
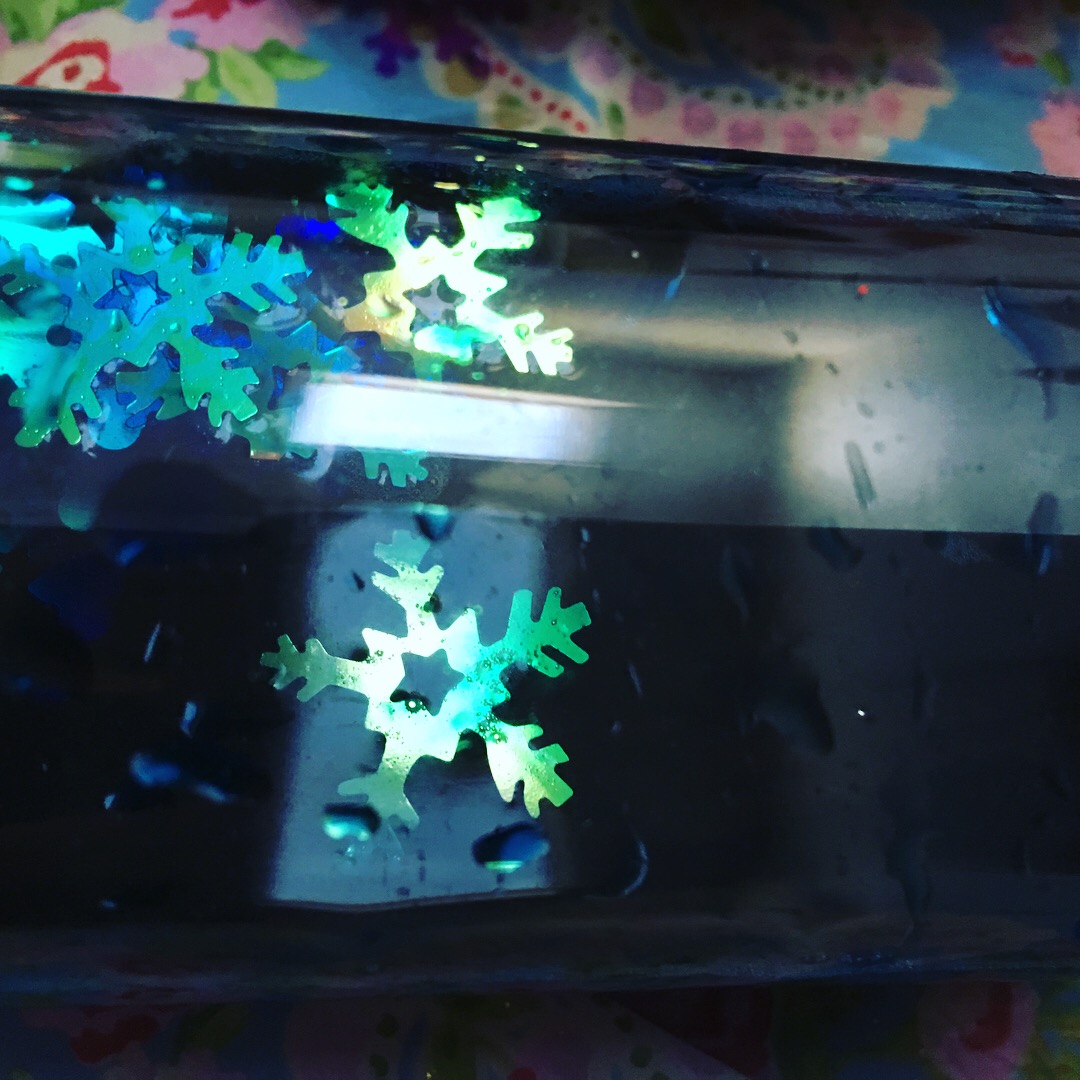
Silver Foil
Cotton Wool
You can use anything that will fit into your chosen bottle
You can also choose to display your items just by themselves
Or you can add water,
Baby oil
Hair gel
Glitter Glue
Colouring
The thicker the carrier material
The more slowly things move
Making the objects easier for a baby to track
Making the sensory bottle an interesting thing for babies to investigate
It is really important
That you seal your bottles with super glue
Before allowing your baby or child to play with them always supervise your baby’s play, just to be safe
It is also vital that you supervise your baby at play with these bottles
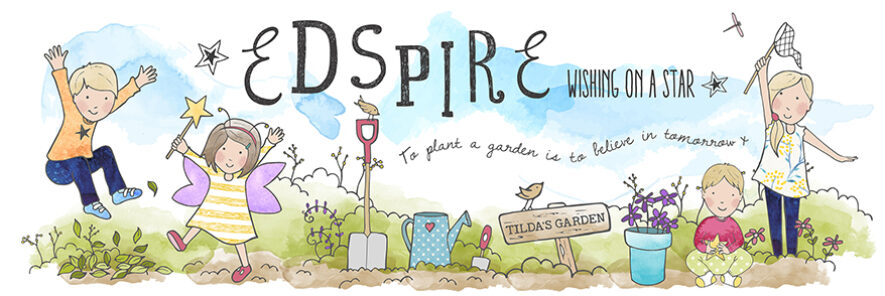
Discovery bottles are fun for baby play
They are also fascinating for toddlers and older children
You may hear them referred to as Calm Down Bottles or jars
They are great toys but also good tools
For calming down older children
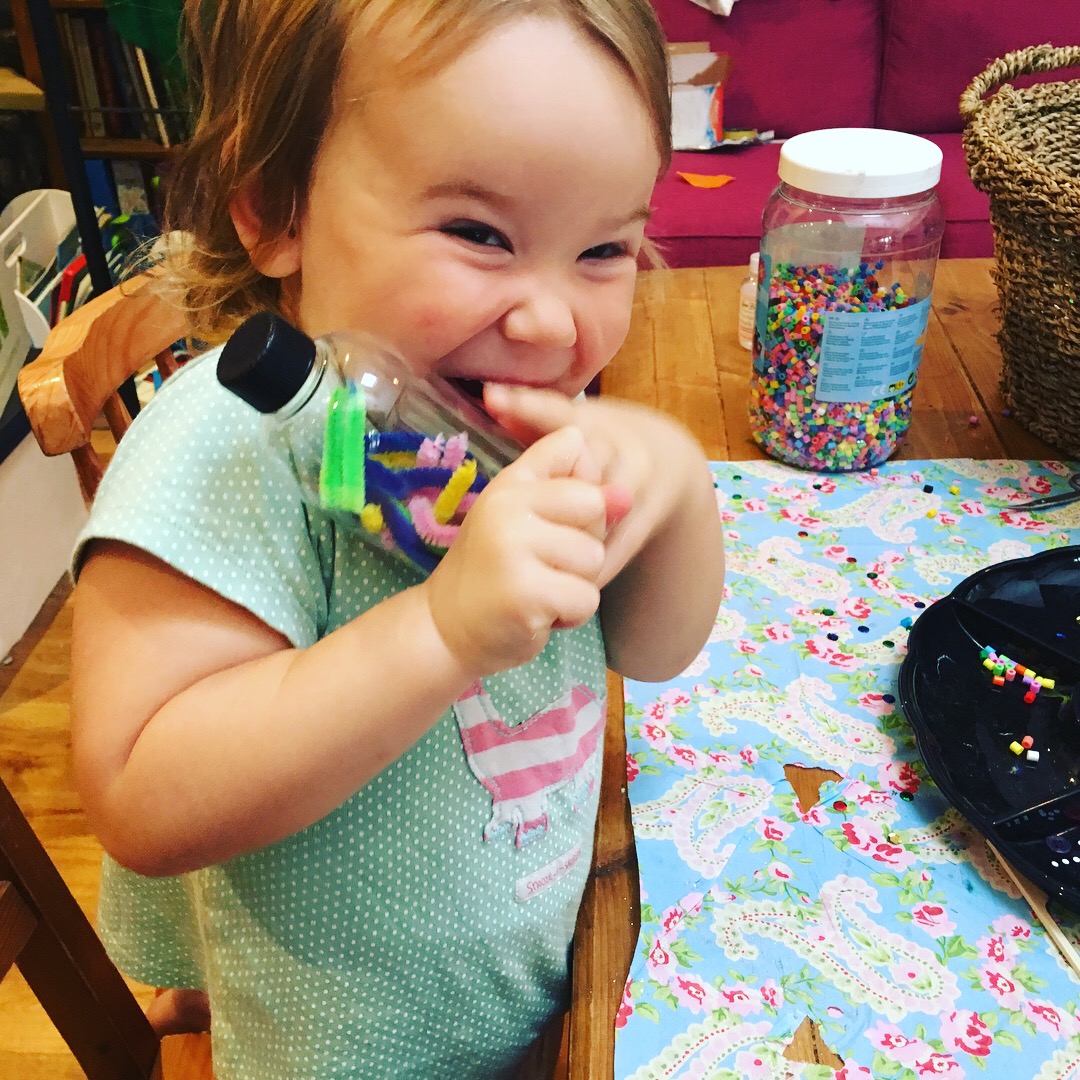
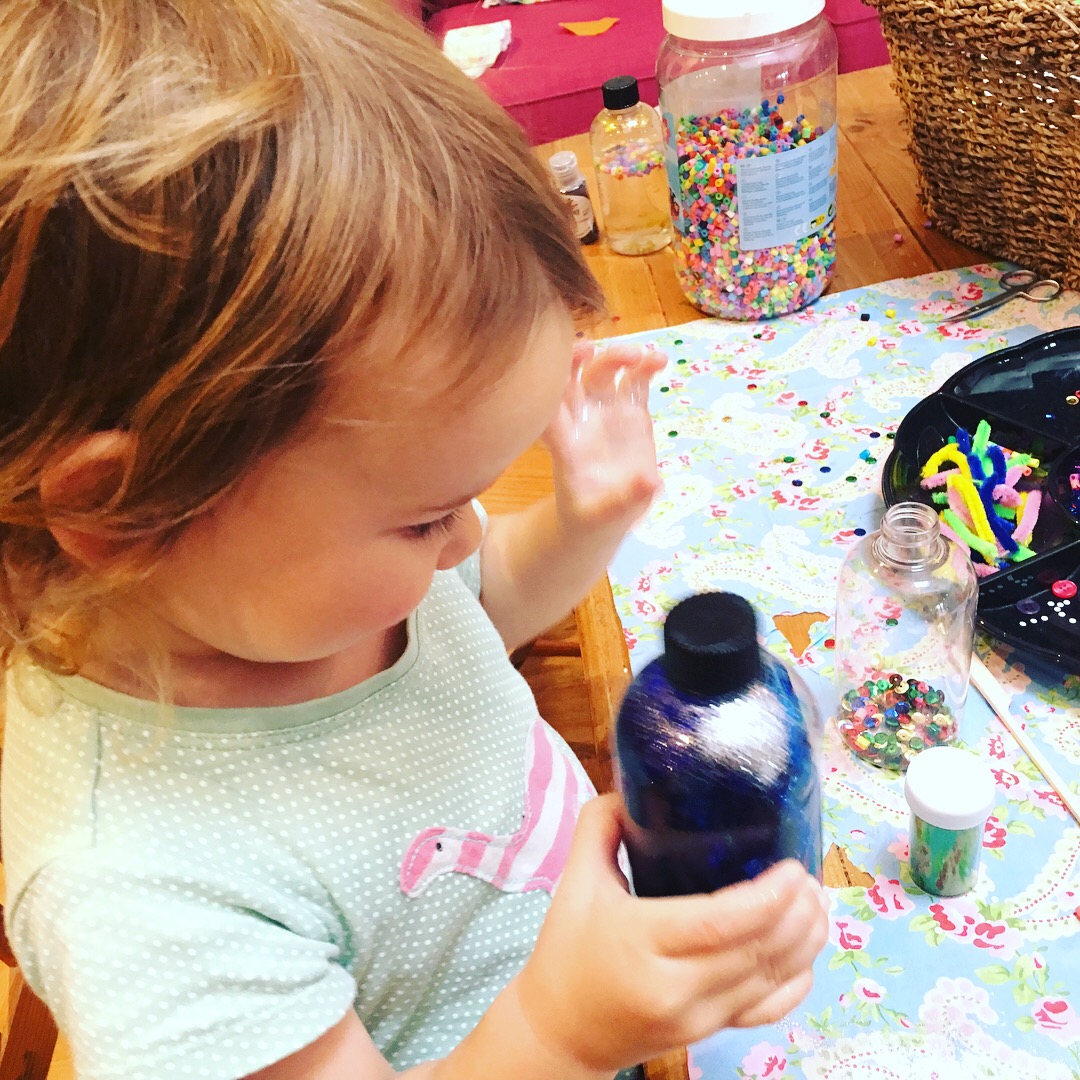
My 7 year olds and 3 year old
Have loved making discovery bottles
For their baby sister
They have also really enjoyed
Exploring the bottles and their contents themselves
Make Your Own Discovery Bottles for Baby Sensory Play
Step 1
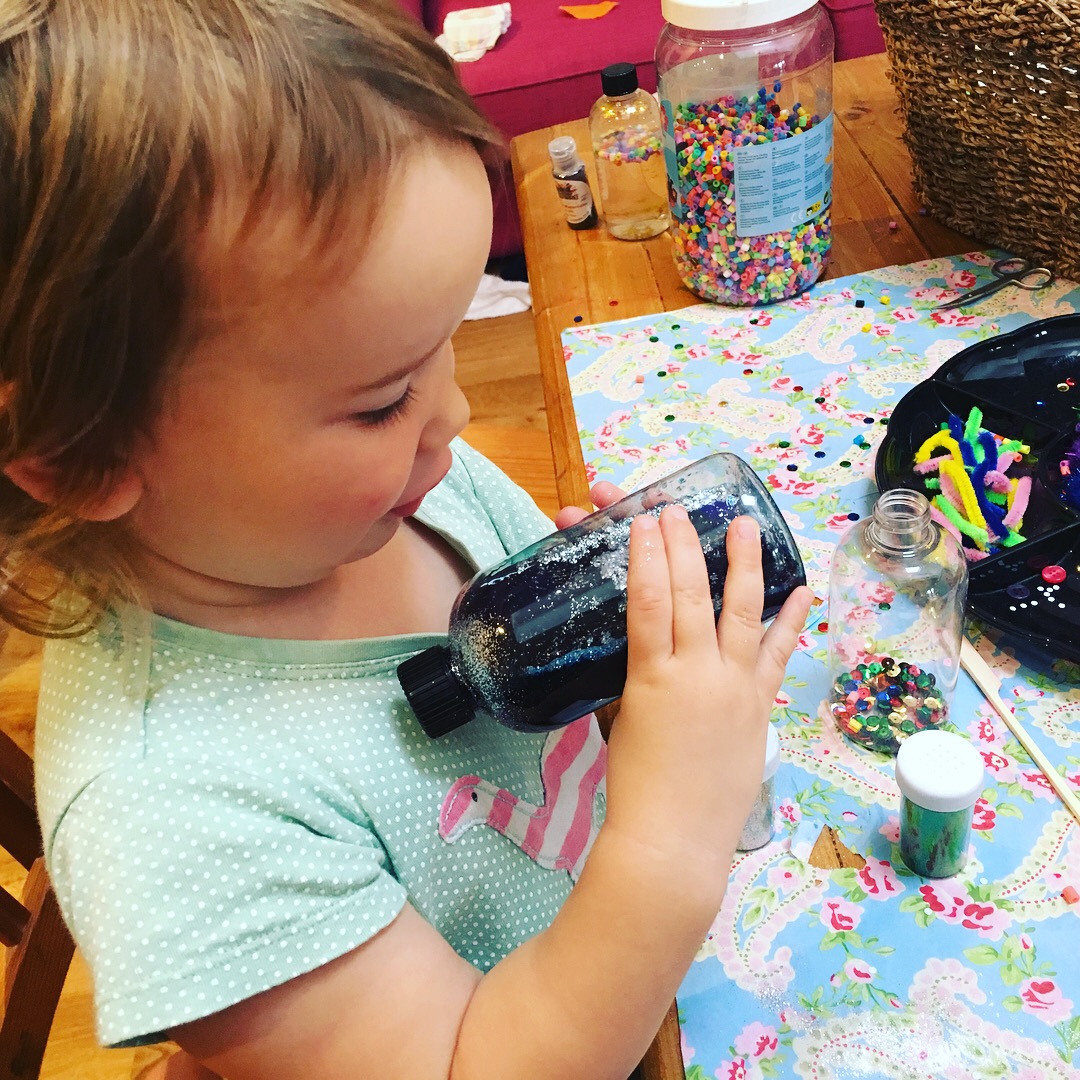
Get your plastic bottle
You can buy bottles online or in high street stores
Or you can use bottles and jars that you already have at home
Choose a container with a twist top
That you can permanently seal with glue
Step 2
Choose your filling
We have made sensory bottles with the following fillings so far
That you might like to try
Hama Beads
Pom poms
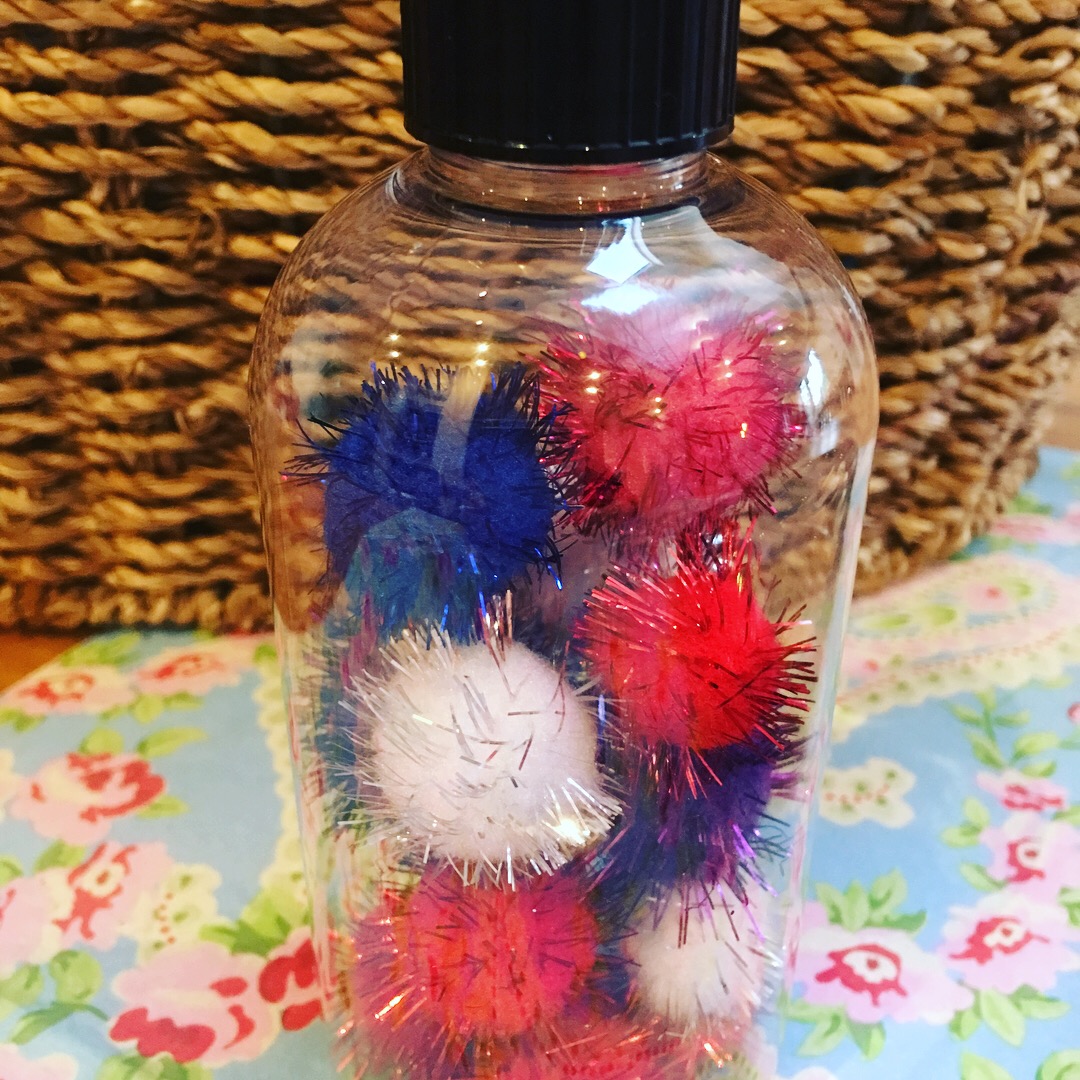
Dry pasta
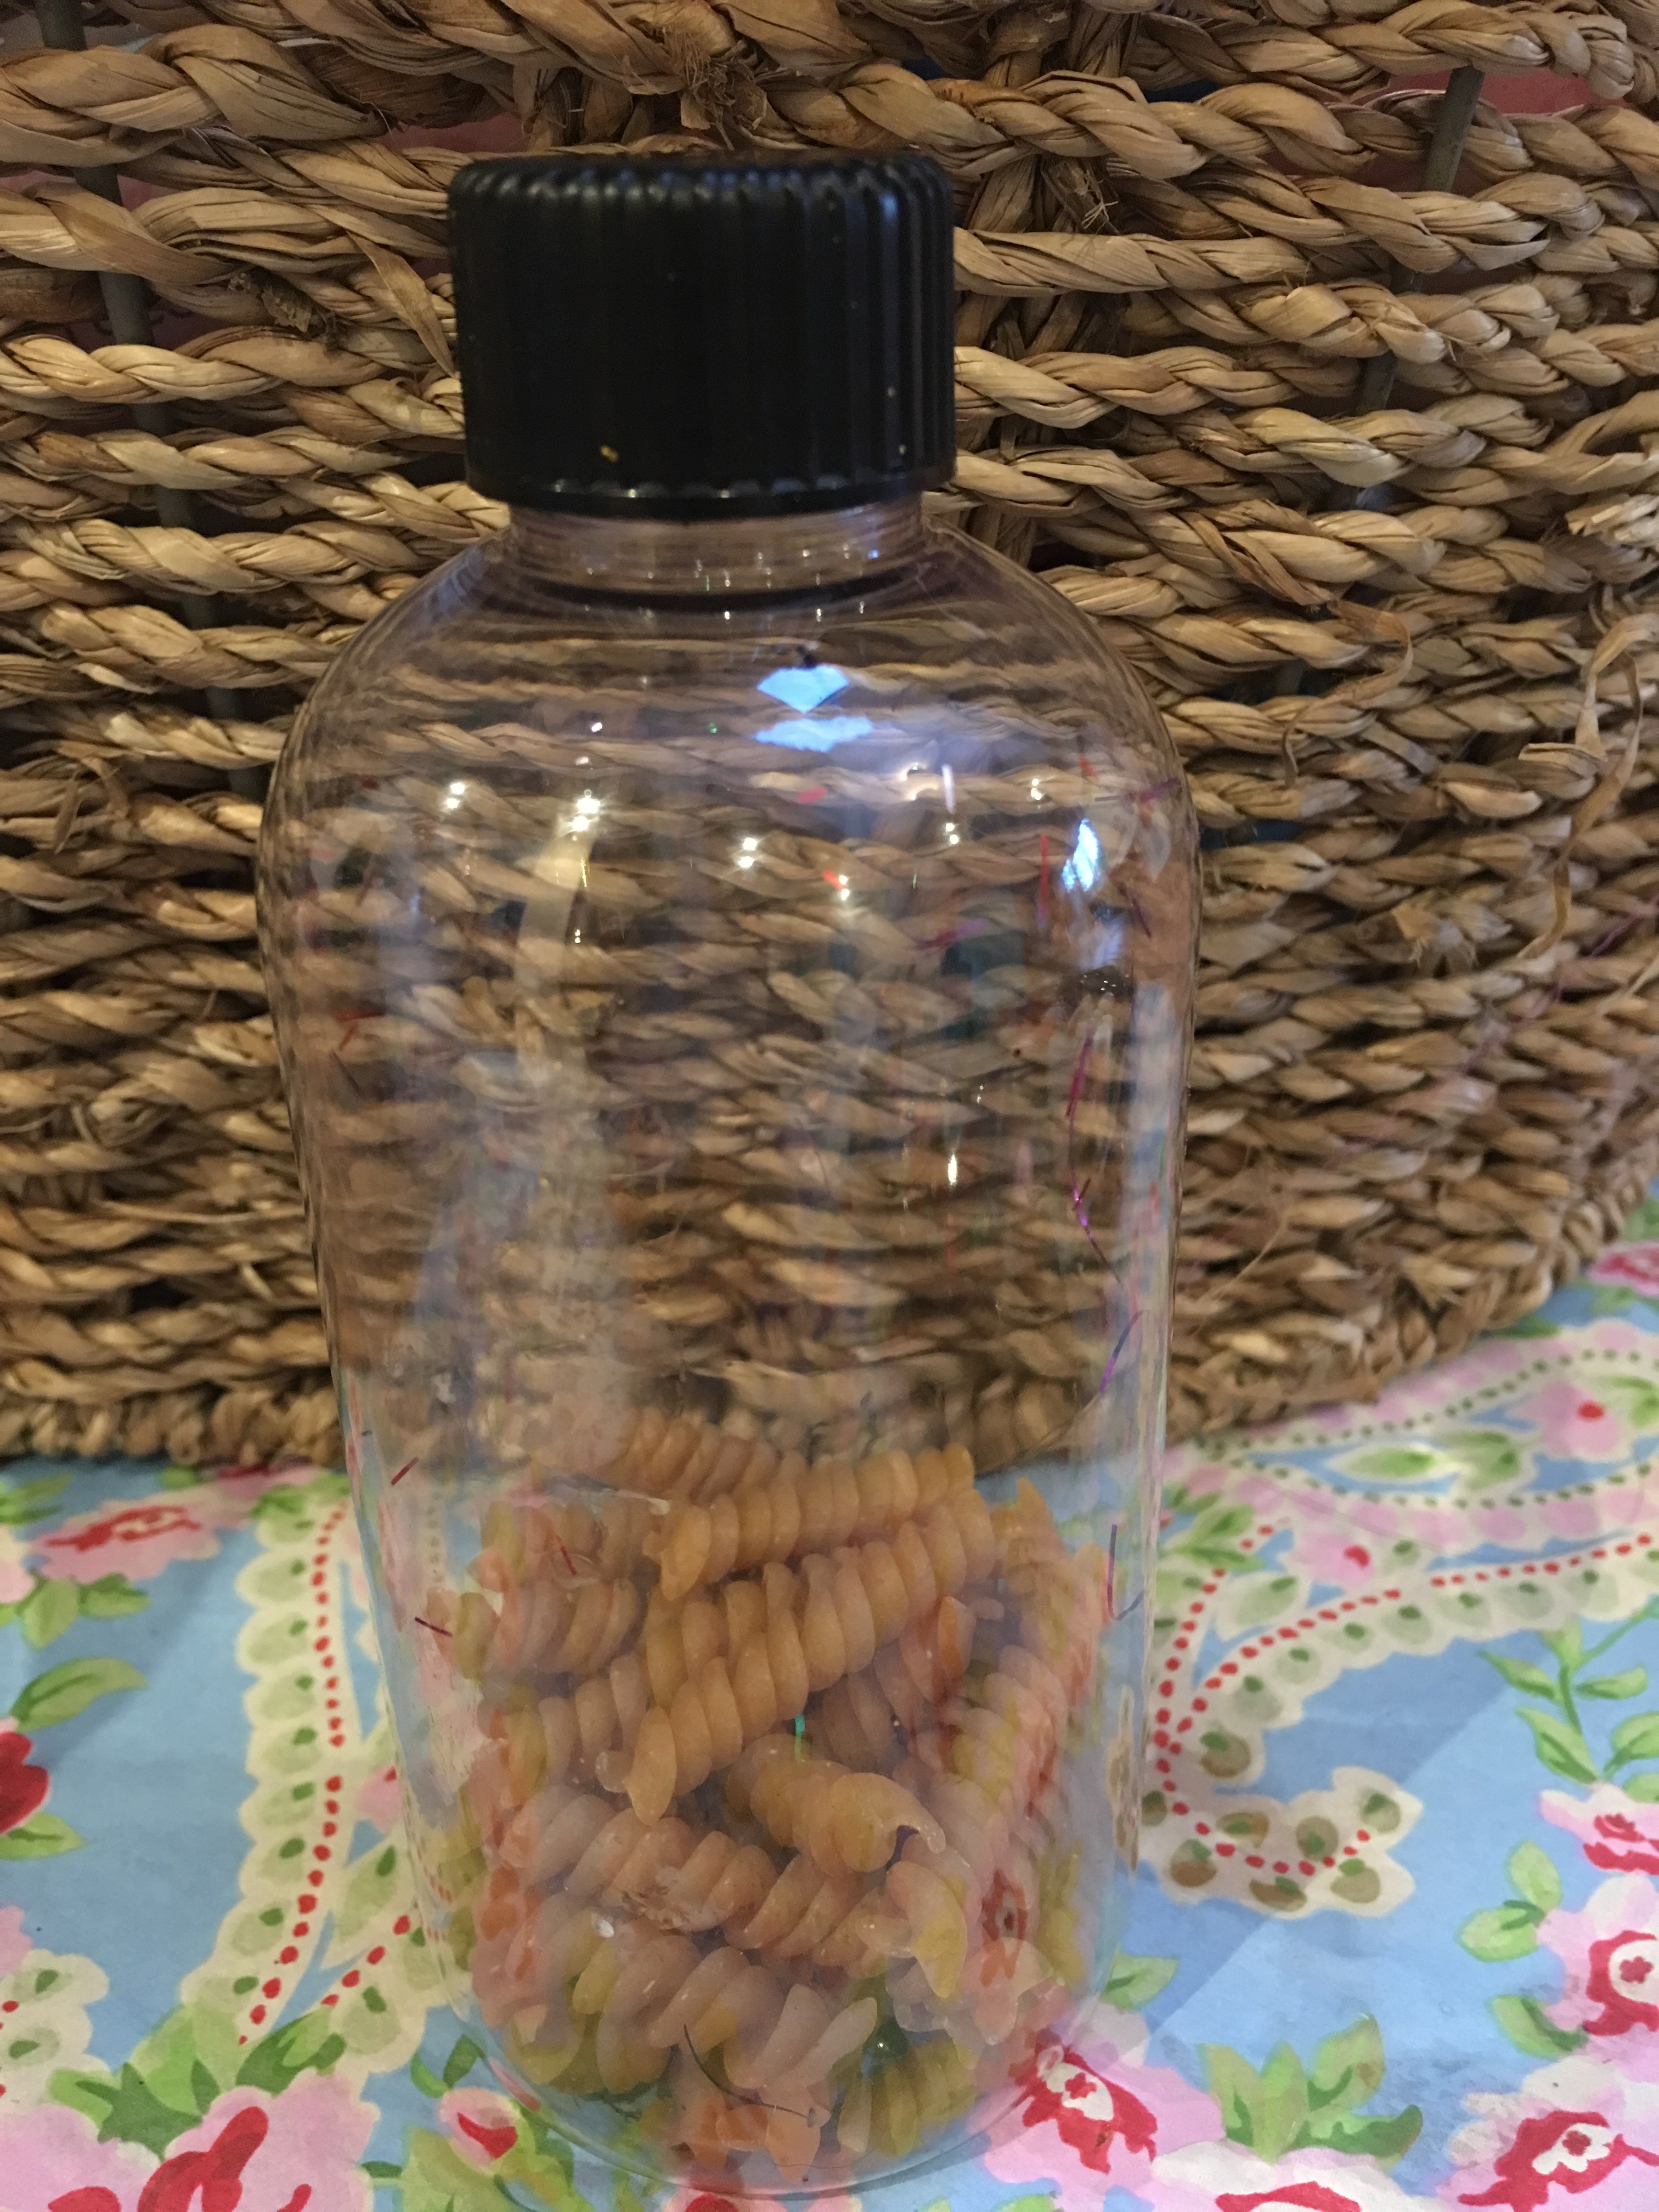
Sequins
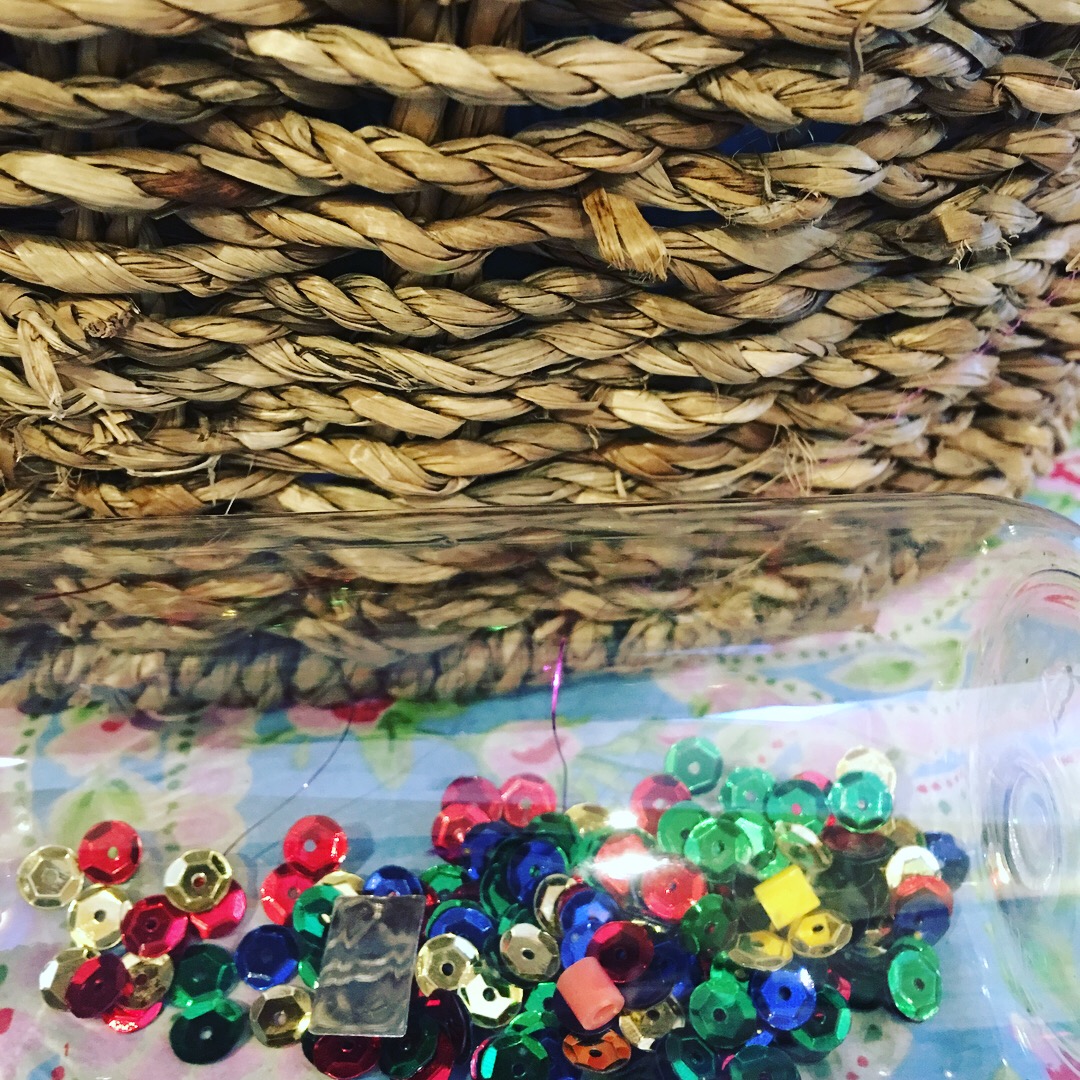
Cut up pipe cleaners
Buttons
Oil and water
Glitter
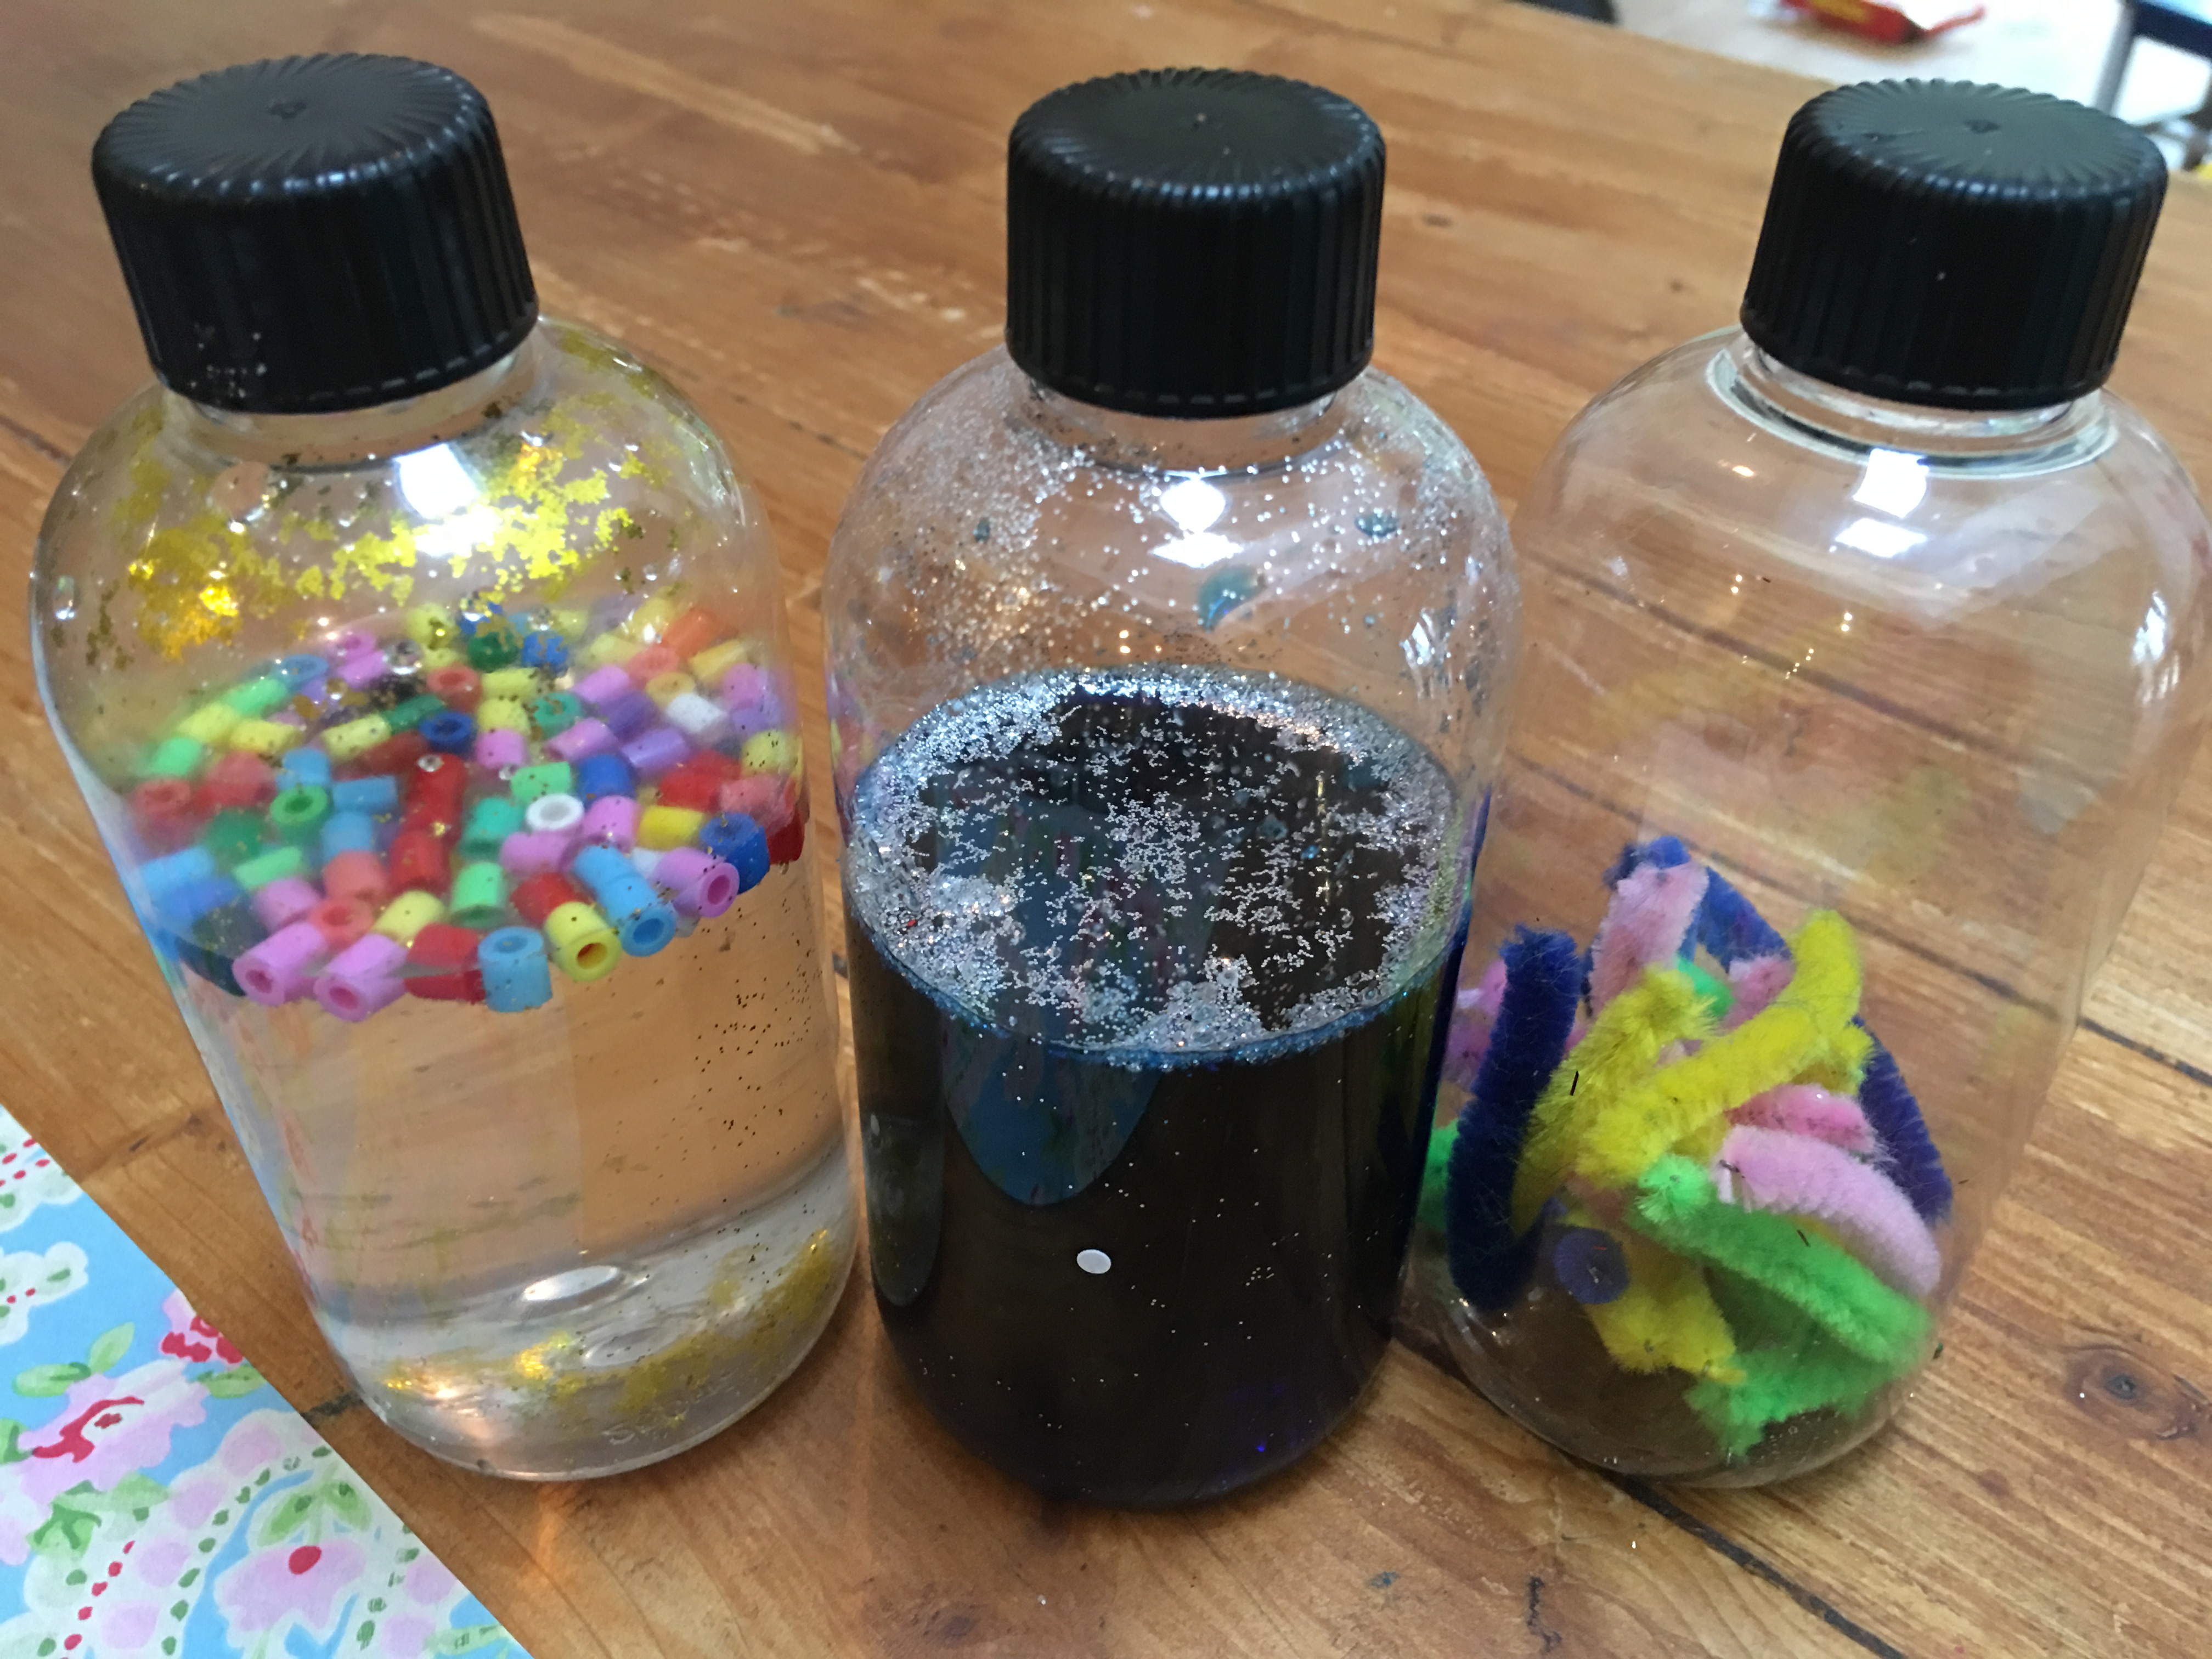
You can use anything you like
That gives an interesting visual effect
Or creates a nice sound
Or does both
Once you have chosen your objects
Or combination of fillers
Put them inside your bottle
And seal
If you get your older children
To fill the bottles
It is great for refining their fine motor skills
And getting them to think about cause and effect
Over the coming year
We are going to make one new discovery bottle a week
We are going to make bottles linked to Edie’s development
Linked to seasons and weather
Linked to festivals and celebrations
We are going to make I Spy Bottles for Bea
To help with letter and number recognition
We have so many ideas and we would love to share them with you
In a new blog feature
52 Weeks of Discovery Bottles
We have been inspired to do this project by
Red Ted Art and
We hope that they and we can inspire you too
Here is a video of us making our first Discovery Bottles for Baby Play
If you do decide to make these sensory bottles with your children
Don’t forget to let them get creative
With any left over materials once you are finished
Enjoy!
My two love anything creative, these would keep them entertained for hours! Thanks so much for sharing with #Blogstravaganza xx
We absolutely love making sensory bottles here. The older children enjoy them as much the younger children. #Blogstravaganza
Esther, my eldest, is getting the most out of them here at the moment. She loves to make them for her little sisters and to play with them herself. We are going to be making some miniature bottles to leave by her fairy door x
What a simple, yet brilliant idea! My little one would absolutely love this… I’ll have to start getting creative! Thank you for linking with #Blogstravaganza
I keep meaning to create these for my little ones. #Blogstravaganza