Today I have a post from Rachel who blogs at Right From The Start.
Rachel McClary is an Early Education Consultant and mother to 3 girls. She blogs about early education, play and expat life in the US.
This is a fabulous post about creating your very own sound garden.
Years ago when working in nurseries we had a teacher who created sound gardens made from recycled materials. He’d put a rope across the garden and the children would hang all manner of tubes, bottles and metallic objects from it to bash. It was always really popular. My kids love music, we have lots of real instruments in the house that they experiment with, we sing and play music and I run parent and toddler music groups but somehow we’ve have never transferred this freedom to explore music to the outdoors.
I began to think about creating our own sound garden gathering inspiration from Pinterest.
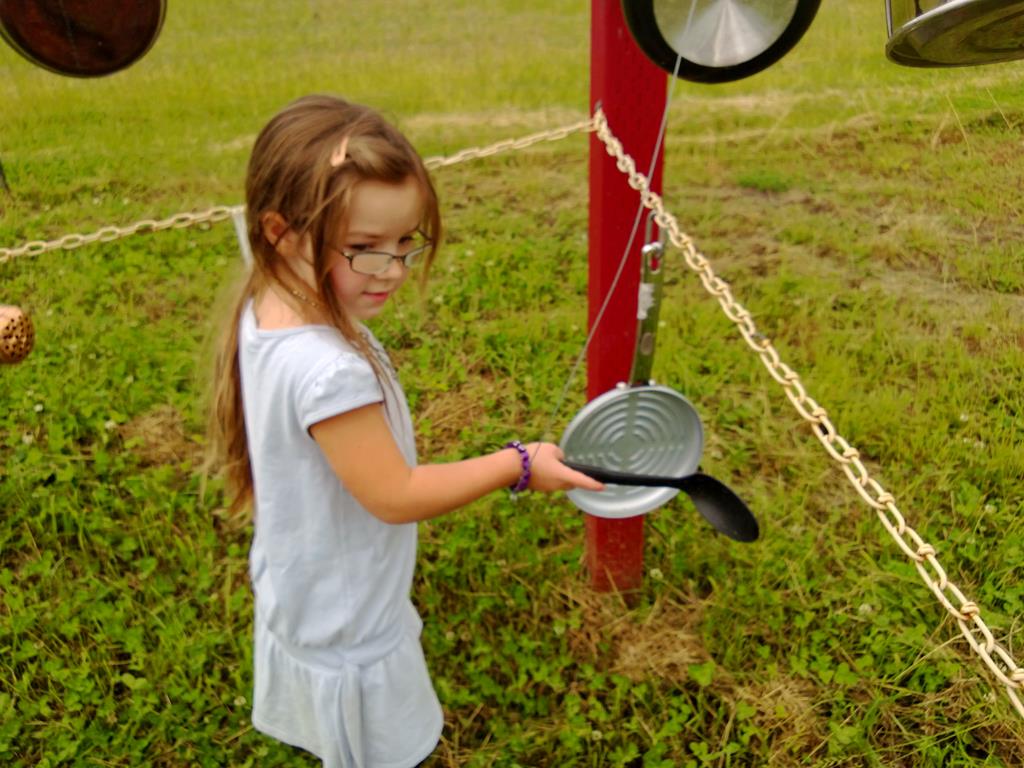
To begin with we tried hanging objects from the branches of a tree. I tried a balloon filled with rice, a milk carton filled with pasta, bells and a pot containing shells. It wasn’t very successful, the tree masked a lot of the instruments, the balloon popped and some of the instruments fell off the tree. A visit to Dr Mazes Farm who have created a really simple but effective music garden, gave me the inspiration to try again.
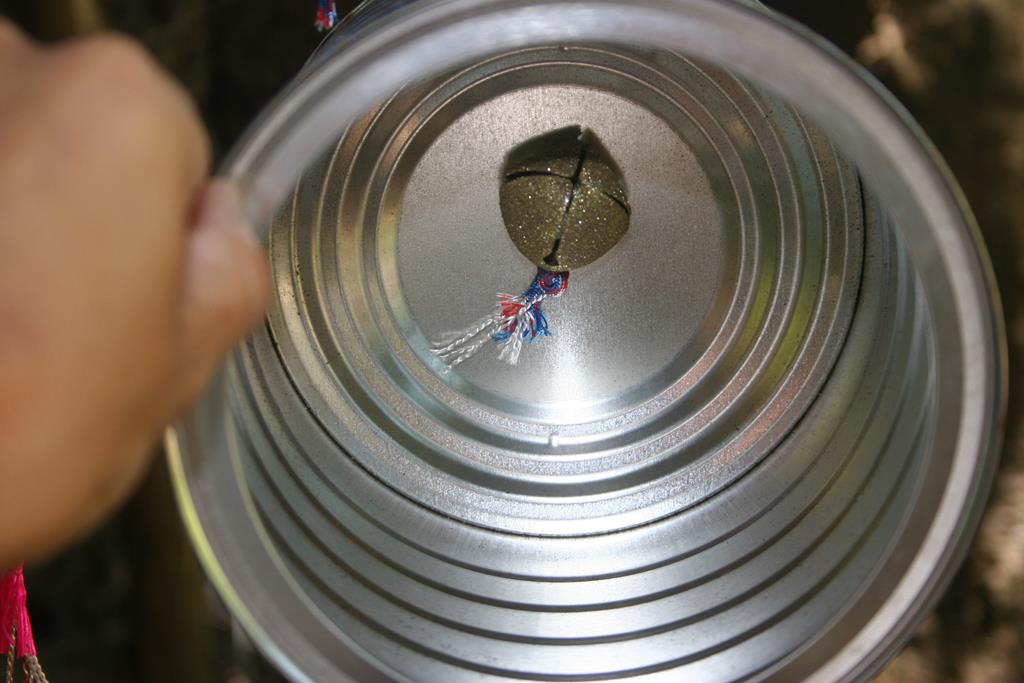
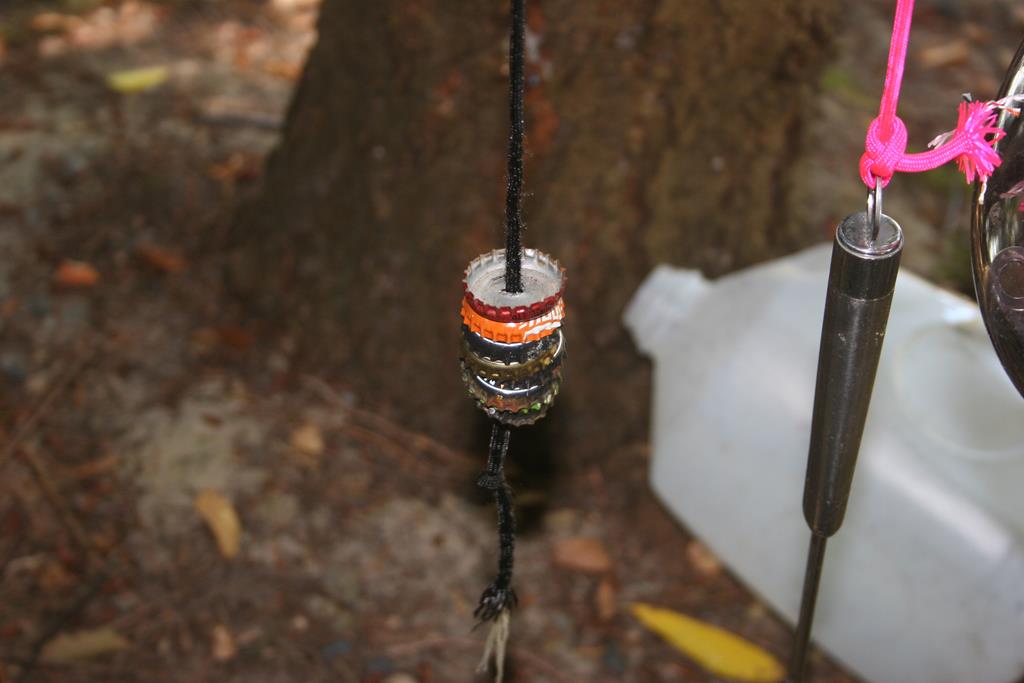
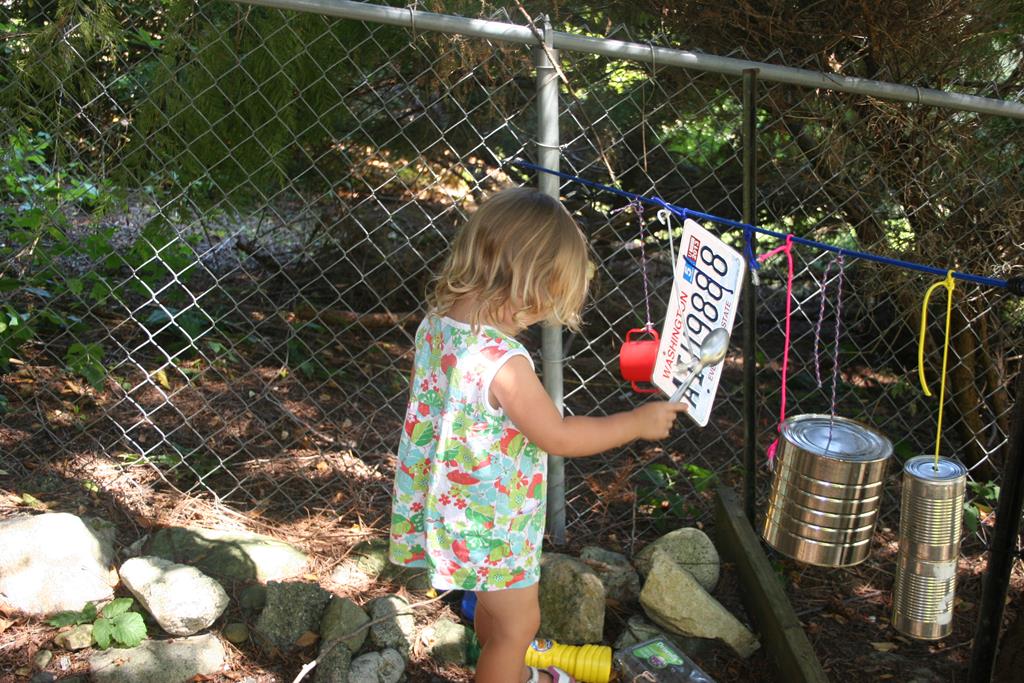
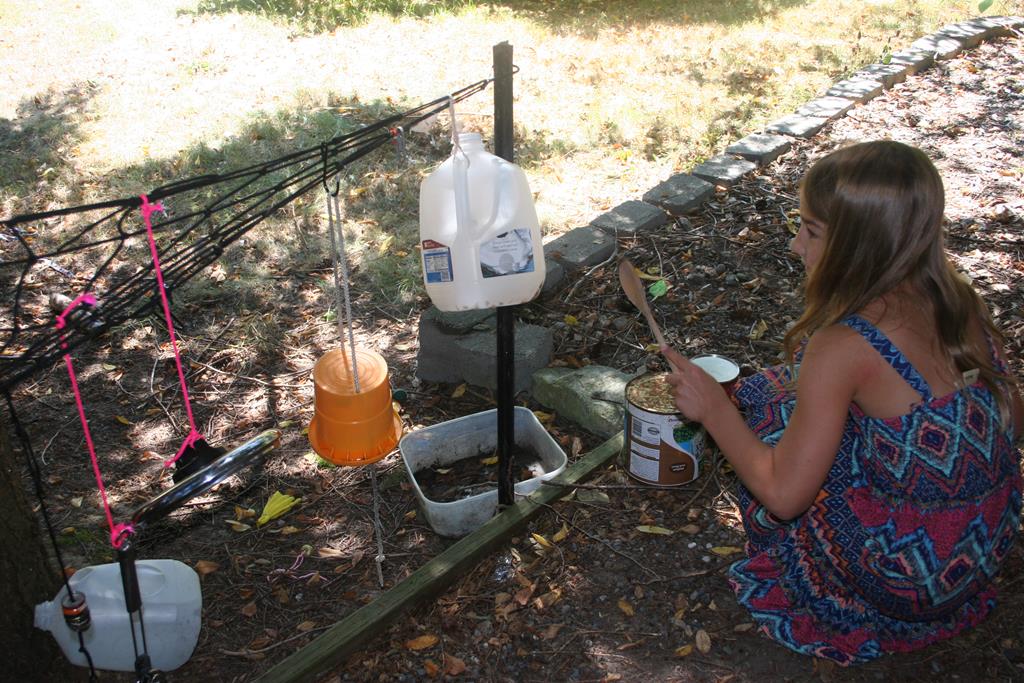
I found a bungee and a cargo net and stretched them between the fence and posts in the garden. This is a perfect natural shady spot in the garden. I collected tin cans and pierced a hole in them using a corkscrew and scissors so that we could attach Para cord through the centre and tie them to the bungee. We also found other metallic objects, pans, bottle tops, and saucepan lids.
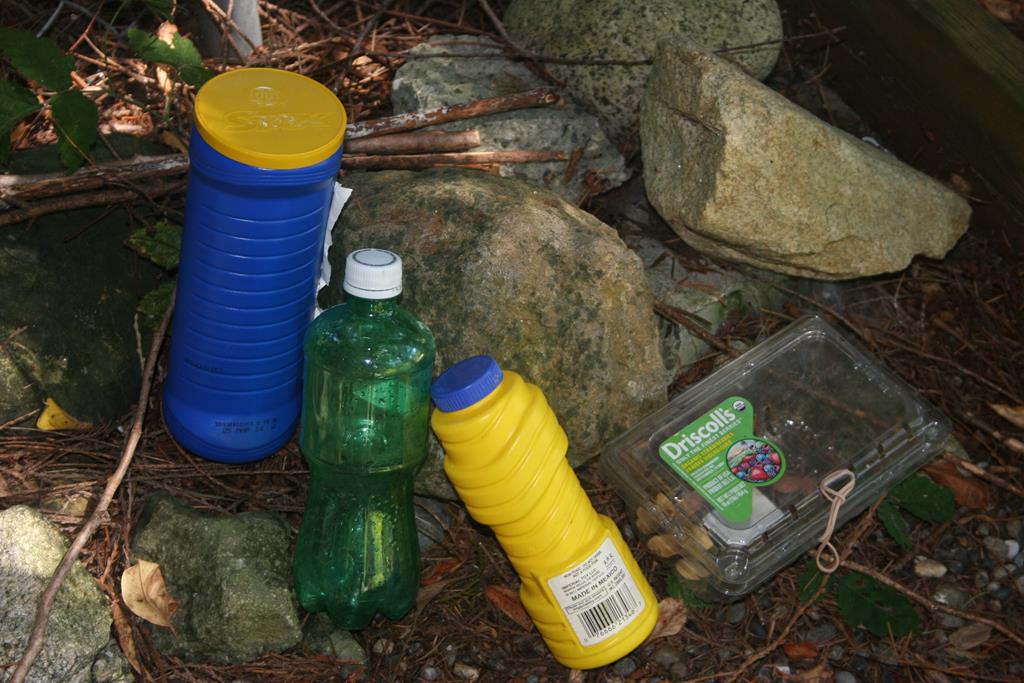
To add to this we made a number of shakers using different objects from the garden to fill them. My 2-year old helped me collect stones, shells and bottle tops to fill the containers.
A couple of spare tins were turned upside down to make a drum set. My daughter began to play, using a pair of sticks and hitting the objects on the line. The pan lid seemed the best option for a cymbal so we moved things around.
To finish it off we created a listening area for the children to chill out and listen to the music. We sometimes take a cd player into the listening area too.
I’d like to think that over time the children will come up with their own ideas to add to the sound garden and continue listen and explore making sounds.
